Getting a dedicated connection
What is a dedicated connection?
A dedicated connection is unique to your service. It covers the data being delivered to or collected from an individual's personal data store and the defined use cases for that data. Together these form the basis of the contract between you and the citizen called a Data Sharing (Service) Agreement.
Requesting a dedicated connection is done online via your own Subscriber Cluster Manager account.
You can set up as many dedicated connections as you need. Each Dedicated Connection can also have multiple DSSAs for different purposes. Once you have set up your connection you can submit it to Mydex CIC for approval and deployment onto the Sandbox which will enable you to test your connection and service.
When you are ready to launch your connection or service, you can request that it be promoted to the live platform.
All use of the Mydex Personal Data Exchange and Personal Data Store services are subject to the Mydex Terms for Subscribers which need to be accepted as part of the request process.
Subscriber Cluster Manager
Please register for the Mydex Subscriber Cluster Manager Web App to set up a dedicated connection and a DSSA.
You can start the request process and save and return to it, if you need to. For example, you may find you need to discuss aspects of your requirement with colleagues e.g. range of data involved, the specific use cases for the data and of course your GDPR compliance declaration. There is a small amount of technical information required so that we can whitelist your connection within our platform.
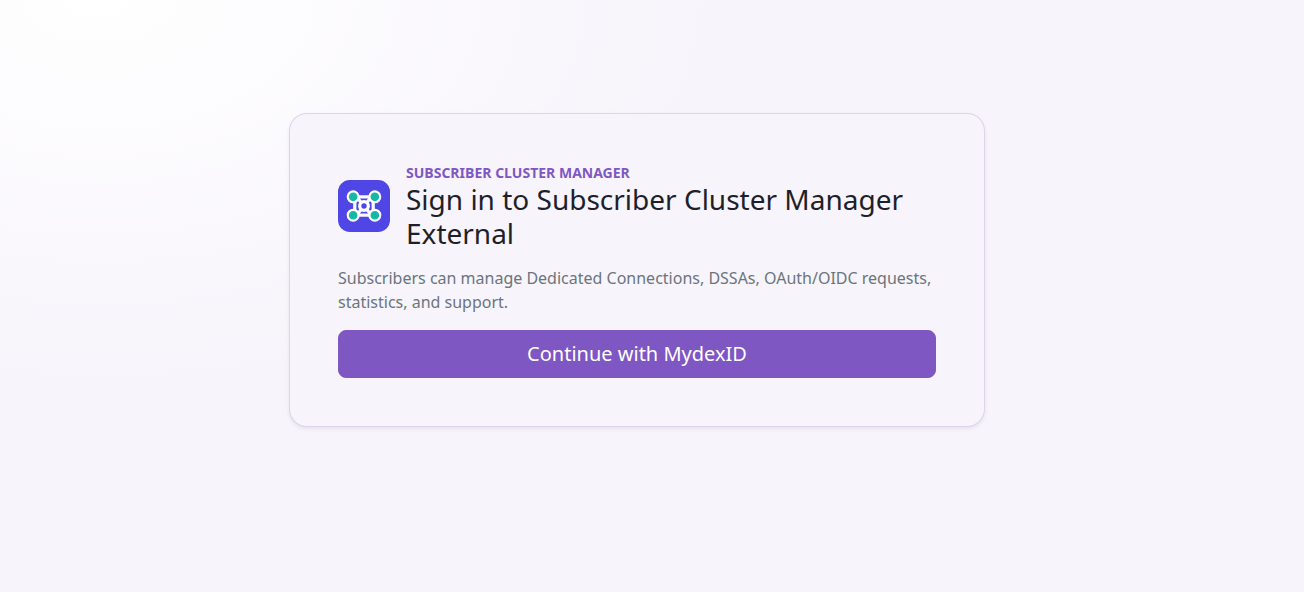
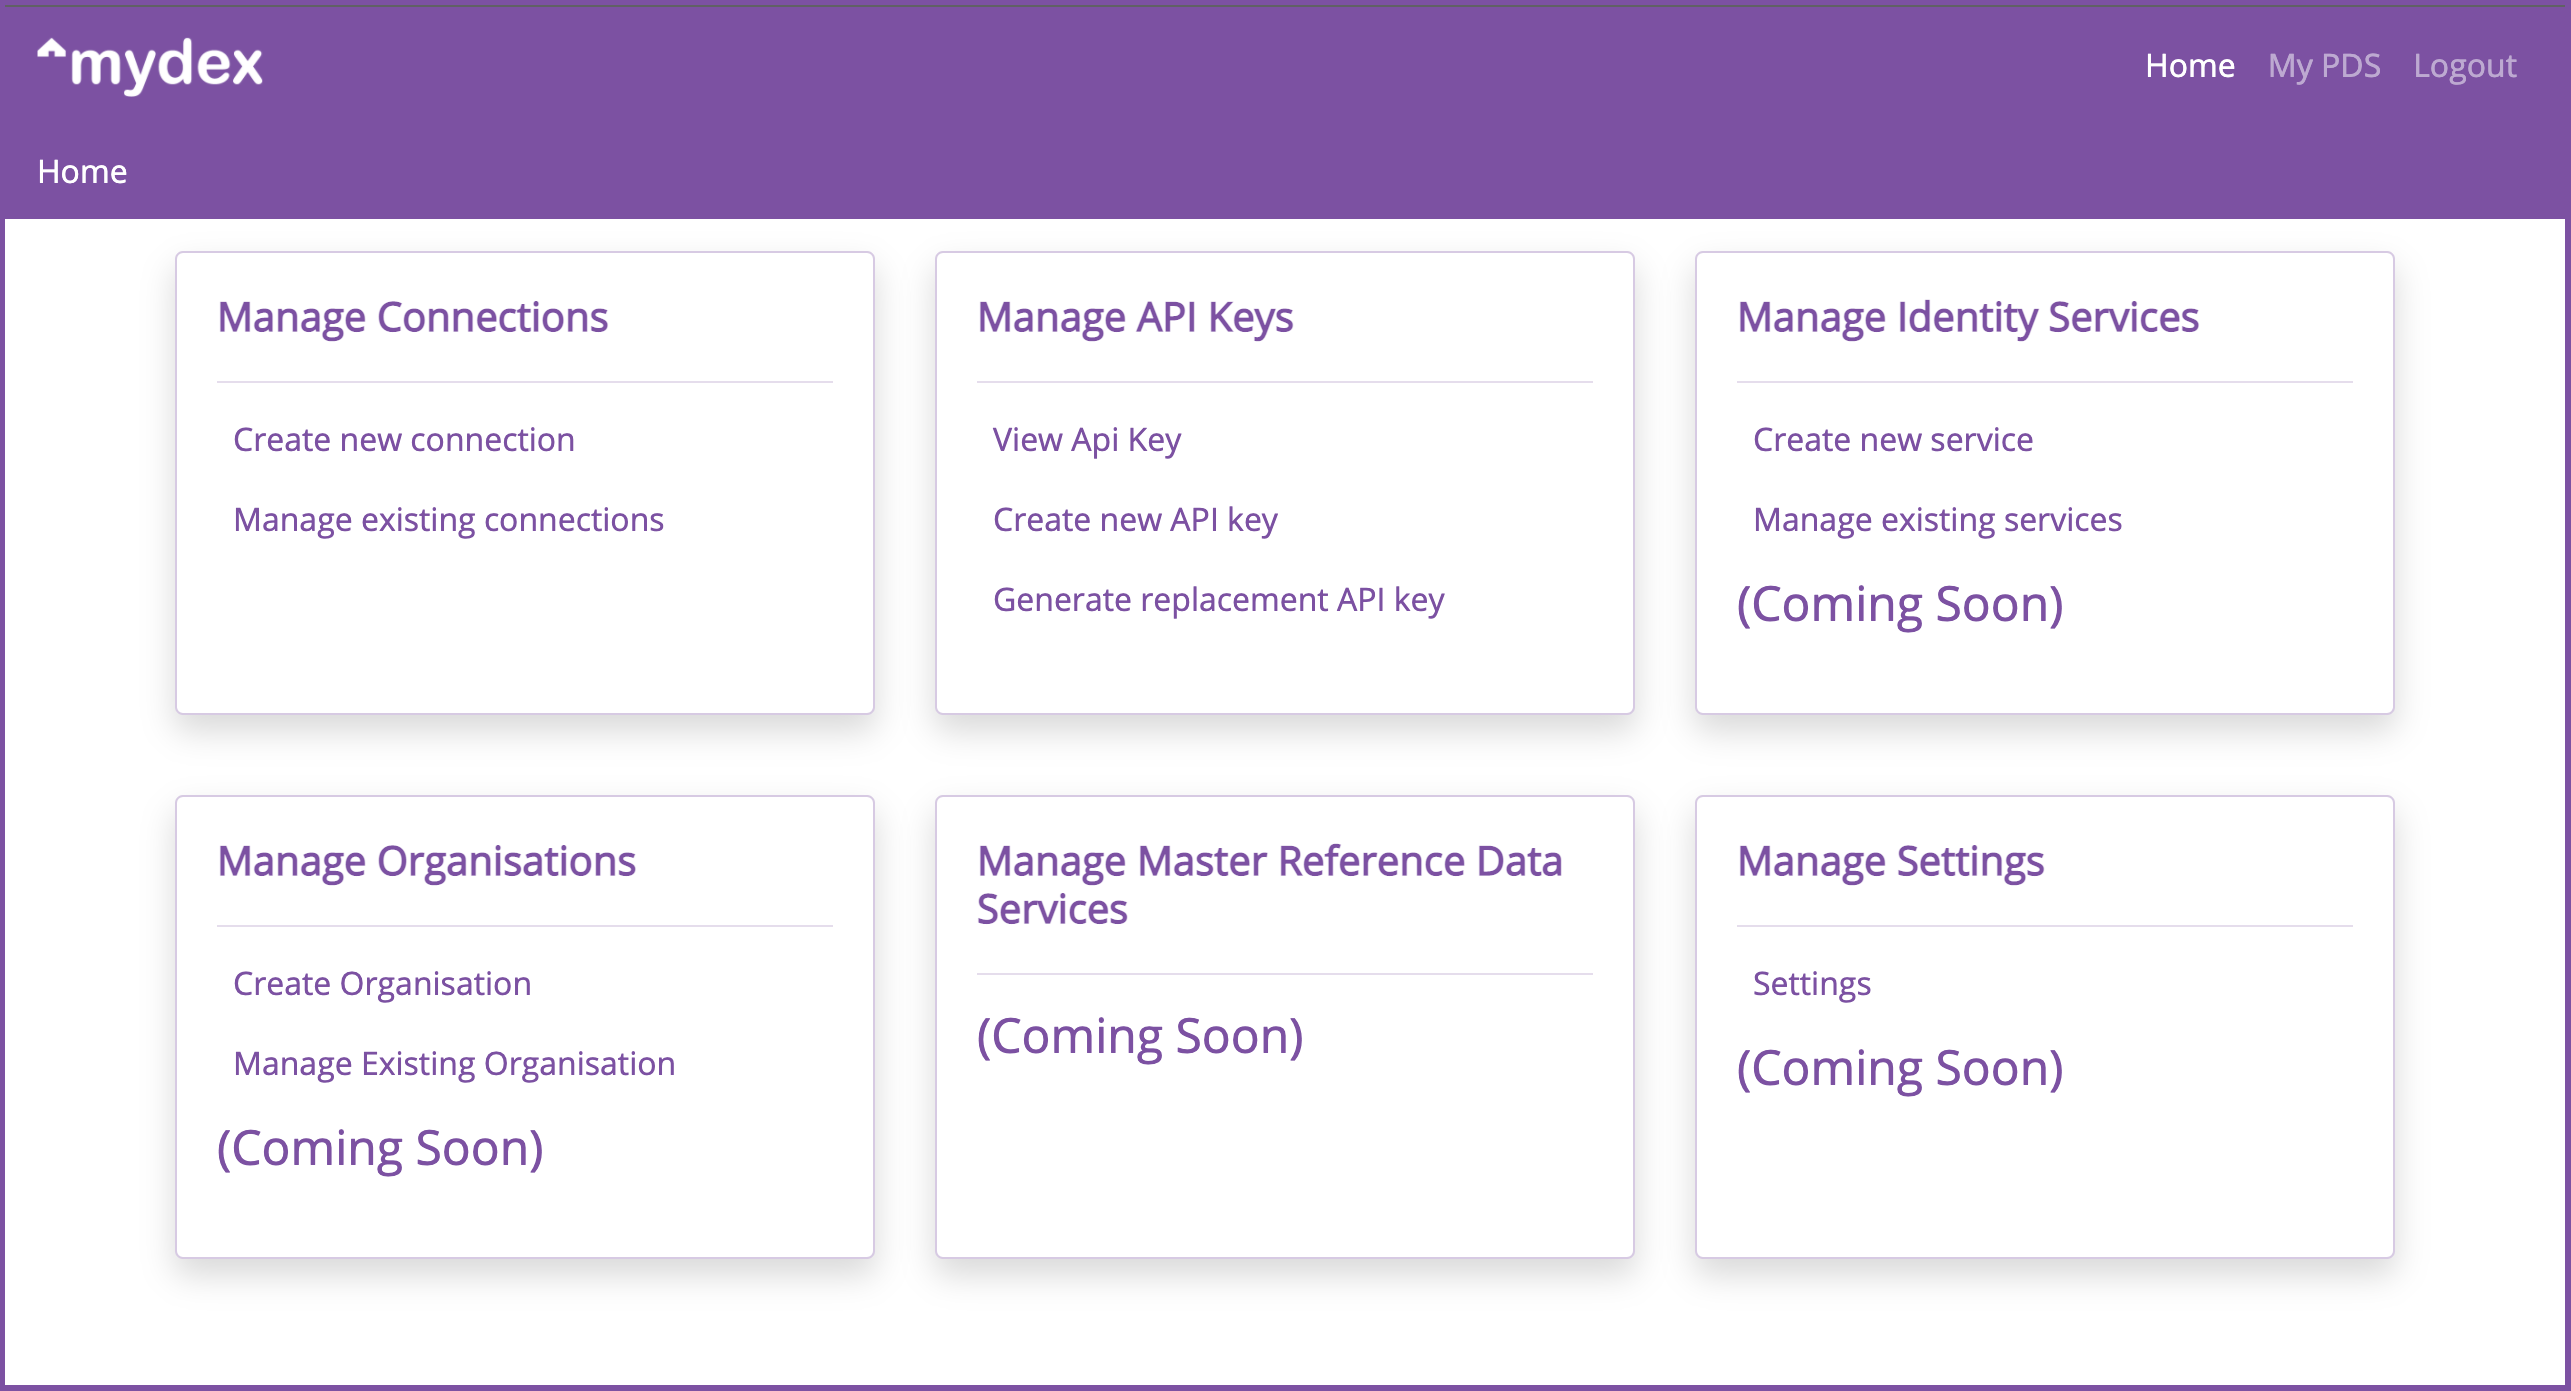
To begin creating and managing connections, you can click 'Start guided setup' or otherwise 'Connections & DSSAs' on the home page:
The integration wizard
The integration wizard — also called a guided setup or onboarding journey — is the recommended way to request everything your service needs in a single submission. It creates three linked resources together:
- Dedicated Connection — the technical link between your service and Mydex.
- Data Sharing Services Agreement (DSSA) — defines what data and operations your service can access, along with callbacks and GDPR declarations.
- PDX API client (OAuth 2.0 credentials) — the credentials your service uses to call the PDX API. The permissions (scopes) are generated automatically from your DSSA selections.
You can save a draft at any step and return to it later. Draft journeys appear in the "Continue a draft" list on the setup page.
The four steps
Step 1 — Dedicated Connection: Provide a connection name, a short description, and choose whether to start in the sandbox environment (recommended for first setup). Select one or more technical contacts from your organisation's active team members — these are the people Mydex will contact about the technical aspects of the connection.
Step 2 — DSSA & access: Give the DSSA a name, then browse the available PDX API routes by module and feature to select the data and operations your service needs. Each selection becomes an API access point in your DSSA. Next, add one or more callbacks — the destinations Mydex should call as part of the service journey (e.g. FTUC, referral, secure messaging, appointment, notifications). Finally, select the relevant GDPR declarations and use cases, marking any use case as mandatory if every member must accept it for the service to operate.
Step 3 — API credentials: The required API permissions (scopes) are calculated automatically from your DSSA
selections — mydex:pdx and metadata are always included. If your organisation already has an active PDX
client that covers every required permission, no new client request is needed. Otherwise, create a client request by providing a
display name. The client will be provisioned after Mydex approves your submission.
Step 4 — Review and submit: A summary of the Dedicated Connection, DSSA, and PDX API client is shown together with any items that must be completed before submission. When everything is ready, click Submit complete integration request. This submits all three components to Mydex for review and creates a linked support thread so status updates and follow-up questions stay attached to this request.
Required information, a checklist.
All sections of the dedicated connection request provide helpful information if you need assistance. If you have any specific questions, please email developersupport@mydex.org or use the 'Support' section of the SCM.
The checklist below sets out the range of information required to set up a dedicated connection:
- Company name and (at least one instance of) contact details.
- Features of the PDX API to be included in your connection in order to access member Personal Data Stores.
- The use-cases that the connection is to be used for.
- Name and description of any connections you want to request.
- The call-back URL(s) that will connect us to your endpoint.
- If the connection is to be live or for use on our sandbox.
- Technical contacts — active team members from your organisation who can be reached about the technical aspects of the connection.
- A display name for your PDX API client (if a new OAuth 2.0 client is needed).
Submitting your request.
You must request at least one DSSA for your Dedicated Connection. Both the DSSA and the Dedicated Connection require to be submitted, starting with the DSSA first. Once you are happy that your DSSA and Connection requests are ready, press submit and Mydex will be notified of the request and review it.
When you submit an integration request, the Dedicated Connection, DSSA, and PDX API client are sent to Mydex together. A linked support thread is created automatically so that status updates and follow-up questions remain attached to this request. Mydex reviewers are notified immediately.
If you subsequently realise that you need to make changes you can 'Request change' on it, which will return it to draft status.
Mydex review and approval.
After submission, Mydex operators review each component of your integration request — the Dedicated Connection, the DSSA, and the PDX API client. Each component can be approved or rejected independently.
- Connection approved: The connection's lifecycle status moves to provisioning and a PDX connection ID is allocated on the platform.
- Connection rejected: If the connection has not yet been provisioned, its lifecycle status is set to rejected. If it was already provisioned, it remains active and the rejection applies to the current revision only.
- DSSA approved/rejected: The DSSA revision is approved or rejected independently of the connection.
- PDX API client approved/rejected: The OAuth 2.0 client request is approved or rejected independently.
The overall journey status reflects the combined status of all its components: draft → submitted → approved or rejected. Status changes appear in notifications within the SCM and are sent to organisation members by email. The linked support thread is updated throughout the review.
What information is returned from Mydex CIC?
Once your Dedicated Connection and/or DSSA are approved, you will see the following information presented back to you as follows:
- Confirmation of the dedicated connection being set up based on the information you have provided.
- Two unique identifiers that need to be sent with new connection requests and any requests for data or delivery of data. These are:
- Connection Node ID
- Connection Key
Note: you may only 'reveal key' once to view the Connection Key. Store this value in a safe, secure place as you will not be able to view it again. You will use this value to initiate 'First Time Connection' journeys for members to approve your Data Sharing Service Agreement.
Team members and permissions.
You can invite colleagues to join your organisation in the SCM so they can help manage connections, DSSAs, and API credentials. Team management is found on the Organisation page and requires admin access to the members service.
Inviting team members
To invite a colleague, enter their email address, choose an initial role, and optionally add a message. The recipient receives an email with a one-time invitation link that is valid for seven days. A MydexID is not required at the point of invitation — the recipient can log in with an existing MydexID or register for one from the invitation link. When they accept, they are added to the organisation in the Mydex Reference Data system (MRD) and their membership is synchronised into the SCM with the role you chose. Organisation members are notified by email when an invitation is accepted.
Pending invitations are listed on the Organisation page, showing the invited email, requested role, status, expiry date, and email delivery status.
Permission levels
Each team member has an organisation role that provides a baseline level of access across all SCM services. The organisation owner has the admin role by default. New members default to viewer. The four permission levels, from lowest to highest, are:
- viewer — read-only access. Can view connections, DSSAs, API clients, and team members.
- editor — can create and edit drafts, but cannot submit or approve.
- approver — can edit, submit, and approve requests.
- admin — full access, including team management and sending invitations.
In addition to the organisation role, an admin can grant service-specific access that raises a member's effective permission for a particular service above their baseline role. The services are: connections, dssas, oauth, mrd, clusters, support, members, and smds. Access can also be granted for an individual resource (for example, a specific connection) so that a member can edit that resource without being given broader access. A member's effective access for any action is the highest of their baseline role and any applicable grants.
What else can I do?
Once you have connections, you can manage them by selecting [Connections & DSSAs] from the navigation panel. There you will find a list of your existing connections with action items listed against each of them on the right hand side:
 view DSSAs associated with the connection.
 edit drafts.
 clone a connection.
 promote a connection to live.
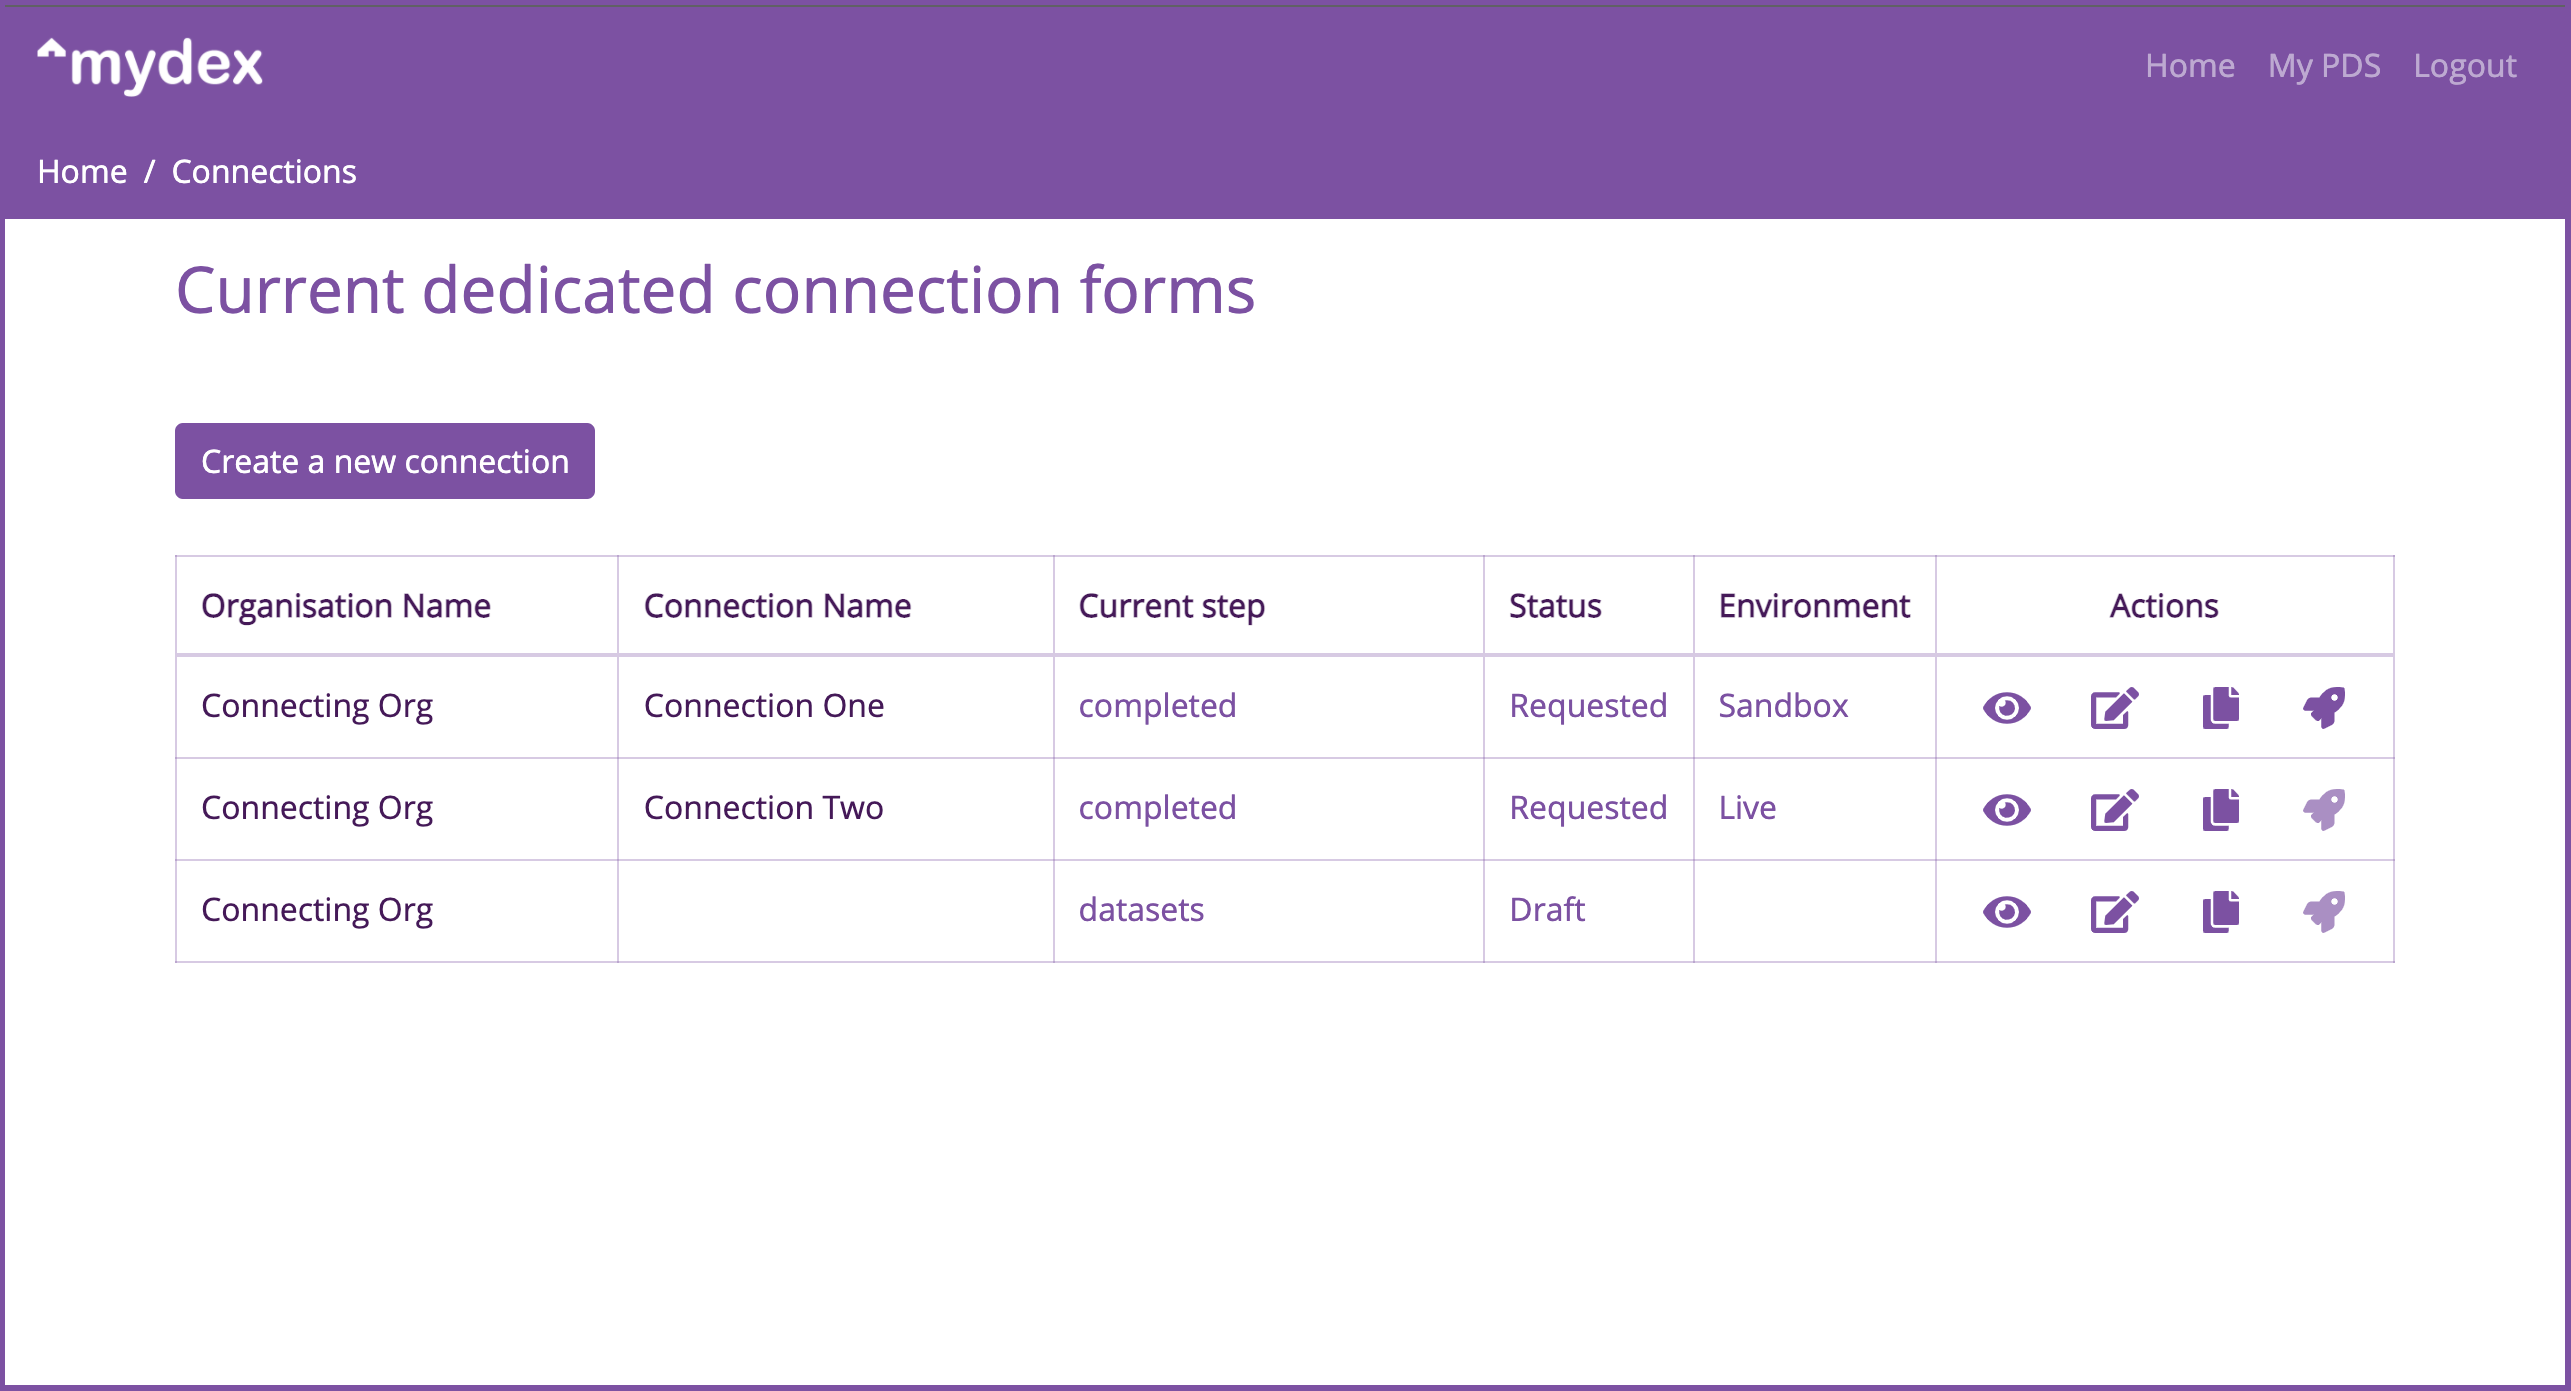
View DSSAs: Any DSSAs associated with the connection can be expanded to show which Feature Blocks they are permitted to request access to from a member's PDS (in a Data Sharing Agreement), as well as what callbacks are associated with the DSSA. Callbacks dictate how Mydex (and potentially other Subscribers) can notify you of changes to your DSSA from the member's perspective (such as when they approve your Data Sharing agrement).
Edit drafts: When a Connection or DSSA is in draft status, it can be edited. You can click 'Request change' to convert a Connection or a DSSA back to a draft state, after which it must be resubmitted for approval.
Clone connections: You may wish to clone a connection, particularly if you are requesting multiple similar connections, or identical connections across more than one different Subscribing organisation, for example.
Request to promote a connection to live: Once you have tested your connection on the sandbox environment and you are ready for it to go live, you can request this by clicking on the Clone/promote button.